ASP.NET Core 6 Web API Swagger
ASP.NET Core 6 Web API Swagger
前言
一份好的 API 文件應該要有明確充足的說明,
不過在台灣一條龍開發的文化行之有年,要完善文件說明相對不容易。
工程師討厭的事情:「討厭別人不寫文件,討厭自己要寫文件」。
所以透過好用的工具配合程式註解產出文件可以有效降低大家的痛苦。

Swagger 套件安裝
使用 Swagger 要安裝 Swashbuckle.AspNetCore 套件,包含以下相依套件。
- Microsoft.Extensions.ApiDescription.Server
- Swashbuckle.AspNetCore.Swagger
- Swashbuckle.AspNetCore.SwaggerGen
- Swashbuckle.AspNetCore.SwaggerUI
以下有兩種方式安裝,最懶人的還是直接選專案範本。
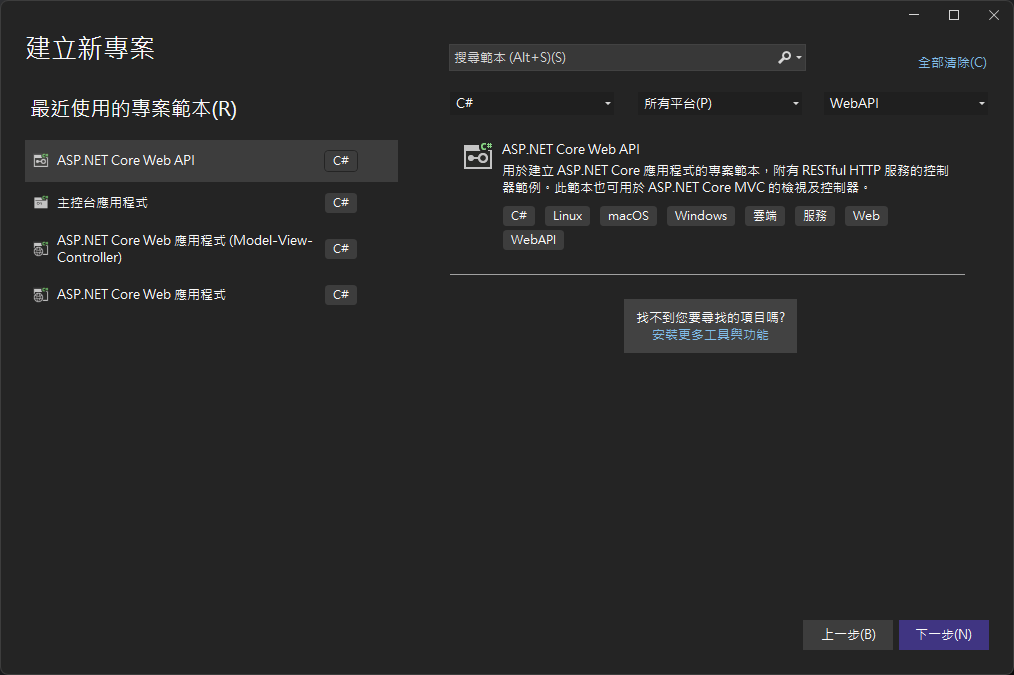
選擇專案範本
通常使用 Visual Studio 選擇 ASP.NET CORE Web API 作為專案範本,
就會自動把該安裝的 Swagger 相關套件裝好。
自行選擇安裝
如果要手動安裝可以到 Swashbuckle.AspNetCore 的 NuGet 頁面,
查看各種安裝方式以及專案對應的套件版本。
最簡單的方式可以用 NuGet 套件管理員搜尋 Swashbuckle.AspNetCore 自行安裝。

Install-Package Swashbuckle.AspNetCore -Version 6.5.0

dotnet add package Swashbuckle.AspNetCore --version 6.5.0
要注意指向專案的目錄,不然會出事的。

新增和設定 Swagger 中介軟體
將 Swagger 產生器新增至 中的 Program.cs 服務集合:
var builder = WebApplication.CreateBuilder(args);
// Add services to the container.
builder.Services.AddControllers();
// Learn more about configuring Swagger/OpenAPI at https://aka.ms/aspnetcore/swashbuckle
builder.Services.AddEndpointsApiExplorer();
// Swagger 產生器新增到服務容器
builder.Services.AddSwaggerGen();
在 Program.cs 啟用啟用中介軟體產生 JSON 文件與 Swagger UI
var app = builder.Build();
// 如果限定開發環境才能看文件
if (app.Environment.IsDevelopment())
{
    app.UseSwagger();
    app.UseSwaggerUI();
}
如果程式沒寫錯,執行起來畫面就會像是這樣。

XML 註解
讓程式內的註解轉換成 XML 格式,渲染到 Swagger 文件畫面,豐富整個文件的說明。
啟用專案 XML 註解
想要使用 XML 註解要先啟用專案 XML 註解,兩個方式做設定。
滑鼠直接點擊就會跳出來了,想用記事本打開改也是可以的。
將 GenerateDocumentationFile 標籤加入 PropertyGroup 內。
<PropertyGroup>
  <GenerateDocumentationFile>true</GenerateDocumentationFile>
</PropertyGroup>

選中專案右鍵後選擇屬性功能列表,找到建置 > 輸出的分類項目下找到後打勾即可。

隱藏警告
通常這時候會發現下面跳一堆錯誤清單,看了會很煩躁,
所以要設定忽略警告讓編輯器好好閉嘴。
就像上面一樣打開專案設定,把 NoWarn 標籤加入 PropertyGroup 內
<PropertyGroup>
  <GenerateDocumentationFile>true</GenerateDocumentationFile>
  <NoWarn>$(NoWarn);1591</NoWarn>
</PropertyGroup>
設定文件註解
在 Program.cs 內參考並加入下方片段
builder.Services.AddEndpointsApiExplorer();
builder.Services.AddSwaggerGen(options =>
{
    // 啟用 XML 註解與對應 XML 檔案
    var xmlFilename = $"{Assembly.GetExecutingAssembly().GetName().Name}.xml";
    options.IncludeXmlComments(Path.Combine(AppContext.BaseDirectory, xmlFilename));
});
加入 XML 註解
上面設定完之後就是要來試試看產生註解
使用 Visual Studio 加入 XML 註解有三種方式
第一種最方便,連續
///。第二種是從功能表上
編輯>IntelliSense>插入註解。第三種是
右鍵>程式碼片段>插入註解。
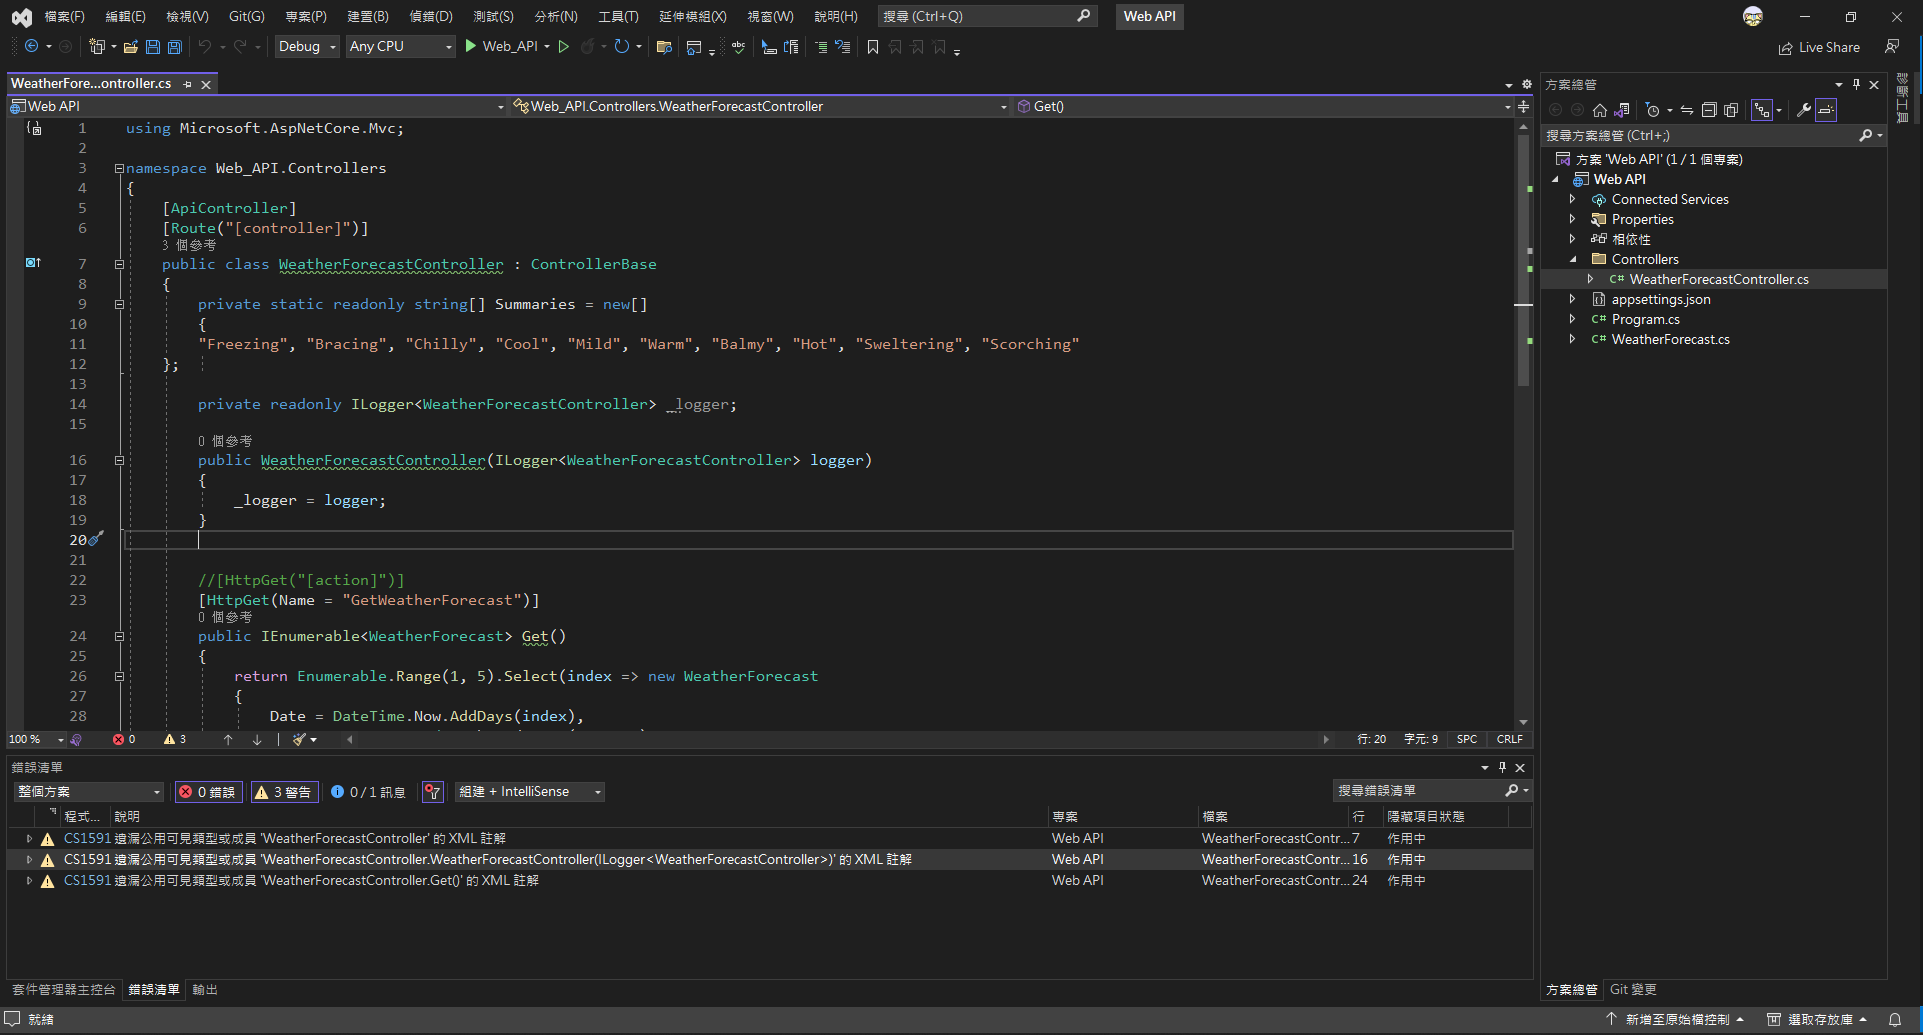
撰寫範例
這裡以官方範本的天氣示範
WeatherForecastController.cs
using Microsoft.AspNetCore.Mvc;
using Web_API.Models;

namespace Web_API.Controllers
{
    [ApiController]
    [Route("[controller]")]
    public class WeatherForecastController : ControllerBase
    {
        private static readonly string[] Summaries = new[]
        {
        "Freezing", "Bracing", "Chilly", "Cool", "Mild", "Warm", "Balmy", "Hot", "Sweltering", "Scorching"
    };

        private readonly ILogger<WeatherForecastController> _logger;

        public WeatherForecastController(ILogger<WeatherForecastController> logger)
        {
            _logger = logger;
        }


        /// <summary>
        /// 取得天氣資料
        /// </summary>
        /// <returns> 產生 5 筆天氣資料 </returns>
        [HttpGet(Name = "GetWeatherForecast")]
        public IEnumerable<WeatherForecast> Get()
        {
            return Enumerable.Range(1, 5).Select(index => new WeatherForecast
            {
                Date = DateTime.Now.AddDays(index),
                TemperatureC = Random.Shared.Next(-20, 55),
                Summary = Summaries[Random.Shared.Next(Summaries.Length)]
            })
            .ToArray();
        }
    }
}
WeatherForecast.cs
using System.ComponentModel.DataAnnotations;

namespace Web_API.Models
{
    public class WeatherForecast
    {
        /// <summary>
        /// 日期
        /// </summary>
        [Required]
        public DateTime Date { get; set; }

        /// <summary>
        /// 攝氏溫度
        /// </summary>
        public int TemperatureC { get; set; }

        /// <summary>
        /// 華式溫度
        /// </summary>
        public int TemperatureF => 32 + (int)(TemperatureC / 0.5556);

        /// <summary>
        /// 天氣總結
        /// </summary>
        public string? Summary { get; set; }
    }
}
效果展示
對應的結果呈現。

屬性標籤註解
當我們需要做資料驗證時可以用內建的屬性標籤(Attribute),
例如必填欄位、驗證信箱、長度上限、數字範圍等......,
很多基本的驗證在官方提供的列表可以找到直接套用。
使用以下命名空間來套用各類屬性標籤
System.ComponentModelSystem.ComponentModel.DataAnnotations
可用的屬性標籤請參考官方文件。 跳轉到參考資料
撰寫範例
建立一個書籍的控制器與資料模型為範例
BookController.cs
using Microsoft.AspNetCore.Mvc;

namespace Web_API.Controllers
{
    [Route("api/[controller]")]
    [ApiController]
    public class BookController : ControllerBase
    {
        [HttpPost]
        public Book Post(Book book)
        {
            return book;
        }
    }
}
Book.cs
using System.ComponentModel;
using System.ComponentModel.DataAnnotations;

namespace Web_API
{
    public class Book
    {
        /// <summary>
        /// 書籍編號
        /// </summary>
        [Required]
        public long Id { get; set; }

        /// <summary>
        /// 書籍名稱
        /// </summary>
        [Required]
        [DefaultValue("貓物語")]
        public string Name { get; set; } = string.Empty;

        /// <summary>
        /// 建議售價
        /// </summary>
        [Required]
        [DefaultValue(1000)]
        [Range(1000, 9999)]
        public int Price { get; set; }

        /// <summary>
        /// 作者姓名
        /// </summary>
        [DefaultValue("西尾維新")]
        [StringLength(8)]
        public string Author { get; set; } = string.Empty;
    }
}
效果展示
有紅色米號的就是必填欄位,其他的欄位驗證規則也會出現在資料結構說明,
這樣使用 API 的人可以更了解使用的方式與限制。

自訂屬性標籤
套件介紹
Swashbuckle.AspNetCore.Annotations 套件提供更多客製屬性標籤,讓 API 文件更加清晰豐富。
可用的自訂屬性標籤與使用範例可參考官方文件。
套件安裝
可參考上方的套件安裝方式,
使用 NuGet 套件管理員搜尋 Swashbuckle.AspNetCore.Annotations 自行安裝。
或是到 Swashbuckle.AspNetCore.Annotations 的 NuGet 頁面,裡面有指令的安裝教學。
啟用套件
在 Program.cs 內參考並加入下方片段
builder.Services.AddEndpointsApiExplorer();
builder.Services.AddSwaggerGen(options =>
{
    options.EnableAnnotations();
});
撰寫範例
using Microsoft.AspNetCore.Mvc;
using Swashbuckle.AspNetCore.Annotations;

namespace Web_API.Controllers
{
    [Route("api/[controller]")]
    [ApiController]
    [SwaggerTag("書籍的控制器")]
    public class BookController : ControllerBase
    {
        [HttpPost]
        [SwaggerOperation(Summary = "回傳輸入的書籍資料", Description = "需要權限")]
        public Book Post(Book book)
        {
            return book;
        }
    }
}
效果展示
SwaggerTag 出現於紅框,SwaggerOperation出現於藍框。

參考資料
Swagger 入門
Swashbuckle 與 ASP.NET Core 使用者入門
使用 XML 註解
屬性註解可用列表
System.ComponentModel.DataAnnotations 命名空間